
Yes, you can lay sod on a slope or a hill, and a sloped lawn often looks better in sod than anything else. The trick with laying sod on a slope is that gravity, water, and erosion all work against fresh turf before its roots grab hold. Get the prep and staking right and a bank that used to wash out every spring turns into a clean green lawn. Our sod installation service across Toronto and the GTA handles graded yards all season, so this guide walks you through doing it well.
Here is the short version before we dig in. On a gentle to moderate grade, prep the soil, lay the rolls across the slope, pin them down, and water in short bursts so nothing runs off. Once the incline gets steep enough that mowing feels unsafe, sod alone will not stay put, and you move to terracing or a retaining solution. The rest of this guide shows you where your yard lands.
Why Slopes Make Sod Tricky
Flat ground holds sod the moment you lay it. A slope does not. Until the roots knit into the soil below, three forces are trying to move your new lawn downhill, and each one gets stronger the steeper the grade.
The first is the sod itself sliding. Fresh rolls are heavy and slick on the underside, so on a bank they can creep or slump before they root. The second is water. Rain and irrigation race down a slope instead of soaking in, carrying loose soil and seed away with it, which is the classic erosion control problem every graded yard faces. The third is you: mowing and walking on a steep, freshly laid lawn can shear the seams apart before they heal.
Did You Know?
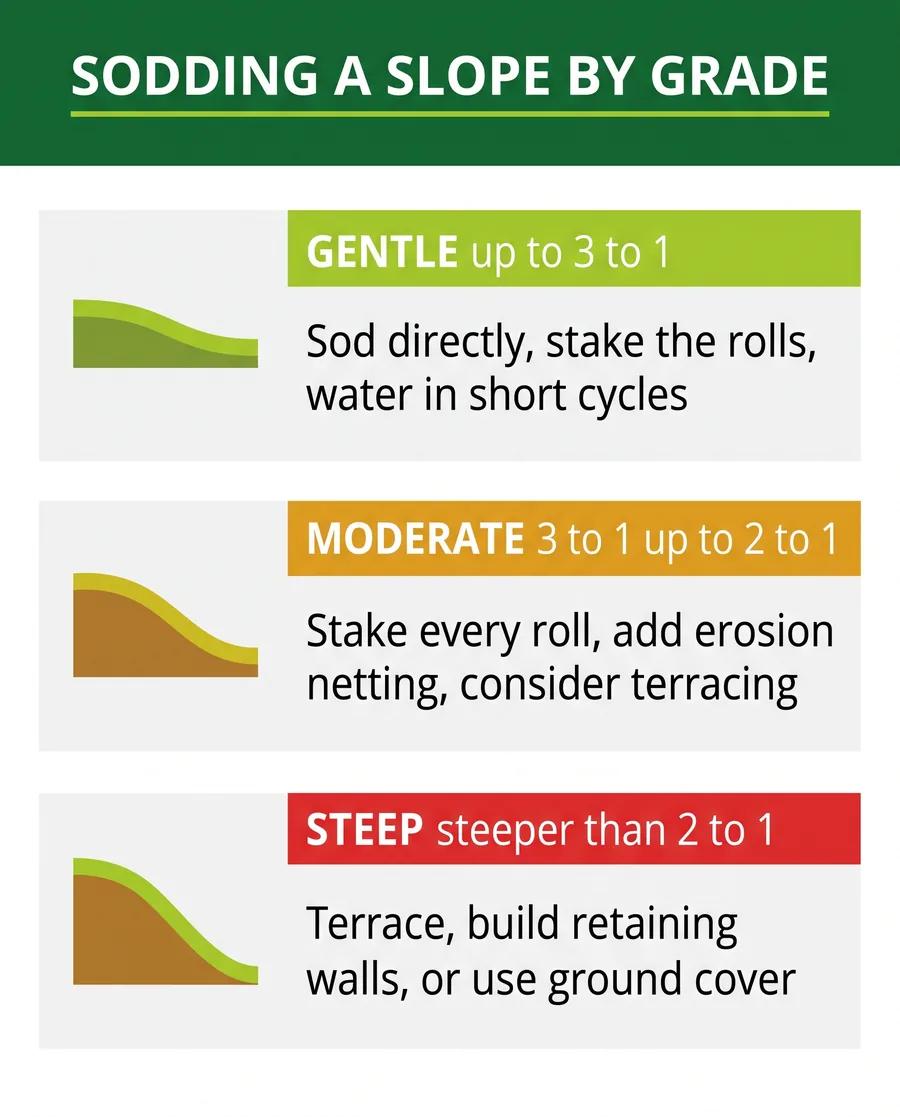
Slope steepness is written as a ratio like 3:1, meaning the ground drops 1 foot for every 3 feet you travel sideways. A 3:1 slope is gentle and mowable. Anything steeper than 2:1 is usually too steep to mow safely and needs terracing or ground cover instead of a standard lawn.
How to Lay Sod on a Slope the Right Way
Doing this properly is mostly about prep and pinning. Rushing the grading is the number one reason a sloped sod job fails, so give the soil the same care a university turf program like Clemson Extension recommends for any new lawn, then add the slope-specific steps.
Prep and Grade the Soil First
Strip the old growth, loosen the top few inches, and rake the bank smooth so there are no ruts for water to channel into. Add three to four inches of quality topsoil and firm it lightly. A smooth, firm, slightly damp surface is what lets each sod roll sit flat and make full contact instead of bridging over hollows. If your yard also needs the old lawn removed first, our guide on removing old grass before sodding covers that step.
Lay the Rolls Across the Slope, Not Down It
Start at the bottom and work up, laying each roll horizontally across the face of the slope so the long seams run sideways rather than straight downhill. Seams that run across the grade act like tiny terraces and slow water down. Stagger the joints like brickwork so no two seams line up, and butt the edges tight without stretching the sod.
Stake or Peg Every Roll
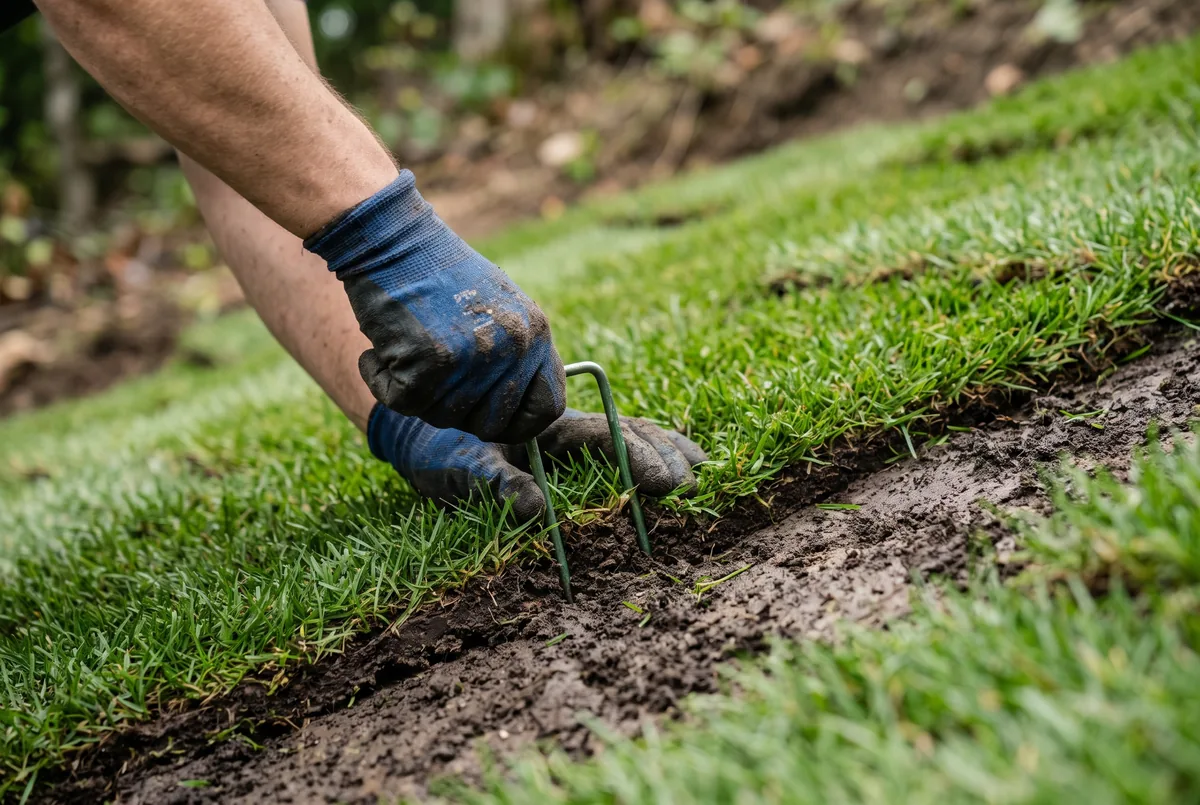
This is the step flat lawns skip. Drive biodegradable sod staples or wooden pegs through each roll into the soil, two on a gentle grade and four or more on a steeper one, concentrating them along the top edge and any seam that wants to lift. The staples hold the sod exactly where you laid it for the two to three weeks it takes roots to anchor, then they rot away. On longer or steeper runs, roll out erosion netting or jute mesh over the graded soil first and lay the sod on top of it.
Pro Tip
Lay slope sod in cooler, damp weather when you can. Roots knit faster and the turf is less likely to dry out and shrink on a bank that bakes in full sun. If you are timing a project, our post on the best season to install pairs well with this one.
Watering a Sloped Lawn Without Runoff
Watering is where good slope jobs still go wrong. Point a sprinkler at a bank and most of the water sheets straight off the bottom, leaving the top dry and washing soil out from under the fresh seams. The fix is to water little and often instead of long and hard.
Use the cycle-and-soak method: run the water only until it starts to run off, usually five to ten minutes, then stop and let it soak in for half an hour, then repeat. Three short cycles put down the same water as one long one without the runoff. New sod on any grade needs to stay consistently moist for the first two weeks, and our full watering guidelines for new sod break down the schedule day by day.
People Often Ask: Why Does My New Sod Slide After Watering?
Almost always because it was watered too hard, too fast, before it rooted. A heavy soak on an unrooted slope floats the sod and lets gravity drag it. Switch to short cycle-and-soak watering, re-seat any rolls that shifted, and add a few more staples to the top edge. Once roots take hold in two to three weeks the sliding stops for good.
When a Slope Is Too Steep for Sod
There is a point where no amount of staking saves a standard lawn. Once a slope is steeper than about 2:1, you cannot mow it safely, water keeps winning, and sod becomes a maintenance headache. At that grade you change the plan instead of fighting it.
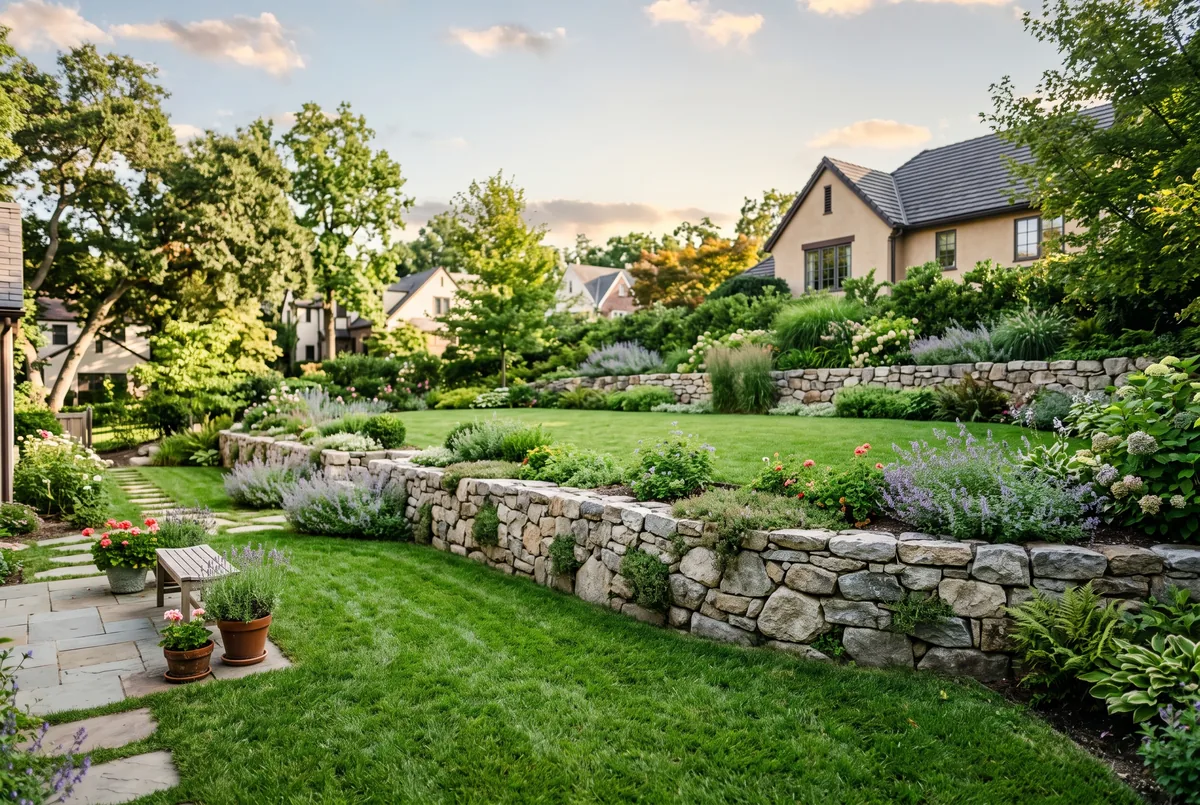
The two proven answers are terracing and retaining walls. Cutting a steep bank into flat tiers, each held by a low retaining wall, gives you level strips of sod you can actually mow and water like normal ground. It costs more up front but ends the erosion problem permanently. The other option is to stop trying to grow lawn there at all and plant a spreading ground cover or low shrubs whose roots lock the soil in place. Use the grade chart below to see where your yard sits.
| Slope Grade | What It Looks Like | Sod Approach |
|---|---|---|
| Gentle (up to 3:1) | A soft rise you barely notice | Lay sod across the slope, stake the rolls, water in short cycles |
| Moderate (3:1 to 2:1) | A clear climb, awkward to mow straight up | Stake every roll, add erosion netting or jute under the sod, water carefully |
| Steep (steeper than 2:1) | Hard to stand on, unsafe to mow | Terrace into flat tiers, add a retaining wall, or switch to ground cover |
| Very steep bank | Almost a wall of soil | Sod alone will not hold; use structural terracing or planted erosion control |
Slope Staple Estimator
Rough planning guide only. A site visit gives the real number.
Save Your Money
Do not pour money into sodding a bank that is genuinely too steep. You will re-lay it every spring after runoff tears it up. Terracing or ground cover costs more once and nothing after, while repeatedly re-sodding a failing slope quietly costs far more over a few seasons.
Please note: This article is general guidance for GTA homeowners. Every slope is different, and grading, drainage, and retaining walls on steep ground can involve safety and by-law considerations. Sodding Canada is not liable for outcomes from work done based on this guide. For a steep or unstable bank, get an on-site assessment before you build or dig.
Frequently Asked Questions
Sodding Canada installs sod on flat yards and graded ones across Toronto and the wider GTA, from Mississauga and Vaughan to Scarborough, Markham, and Richmond Hill. If you have a bank that washes out or a hill you are tired of fighting, get in touch for a free assessment and we will tell you honestly whether it is a sod job or a terracing job.