Why does the sod that looked perfect on delivery day end up with a puddle in the corner by October? It’s almost never because the sod was bad. It happens because the ground underneath wasn’t level when the rolls went down, and turf has no way to fix that on its own.
Getting your yard level before installation is one of the least glamorous parts of a professional sod job, but it’s the step that decides whether your lawn still looks good three years from now.
Why leveling an uneven yard for sod matters
Sod is a finished mat, not a liquid. It bends a little over a gentle dip and bridges a shallow rise, but it cannot pour itself into a hollow or shrink itself flat over a hump. Whatever shape the ground has when the rolls go down is roughly the shape the lawn will keep.
Two problems usually show up if this step is skipped:
- Low spots turn into bogs: Water collects in depressions and drowns the roots sitting in it.
- High spots get scalped: The mower blade chops the crown off the grass on high spots, thinning the turf in areas already under stress.
Step 1: Establish Your Base Grade and Topsoil
Before you can fix specific low spots, the overall yard needs to be draining in the right direction (away from your foundation) and covered with a consistent layer of quality topsoil.
Because general site grading and topsoil application are full projects on their own, we won’t cover all those steps here. For a complete walkthrough on stripping old grass, testing your soil, establishing a foundation grade, and applying the right amount of topsoil, read our full guide on How to Prepare Your Lawn for Sodding.
Once your base layer of topsoil is down and graded away from the house, you are ready to tackle the specific bumps and hollows.
Step 2: Fix Low Spots and Depressions
Most yards don’t need to be entirely torn up and reshaped. Instead, they need specific low spots corrected. Here is how to handle the most common uneven areas:
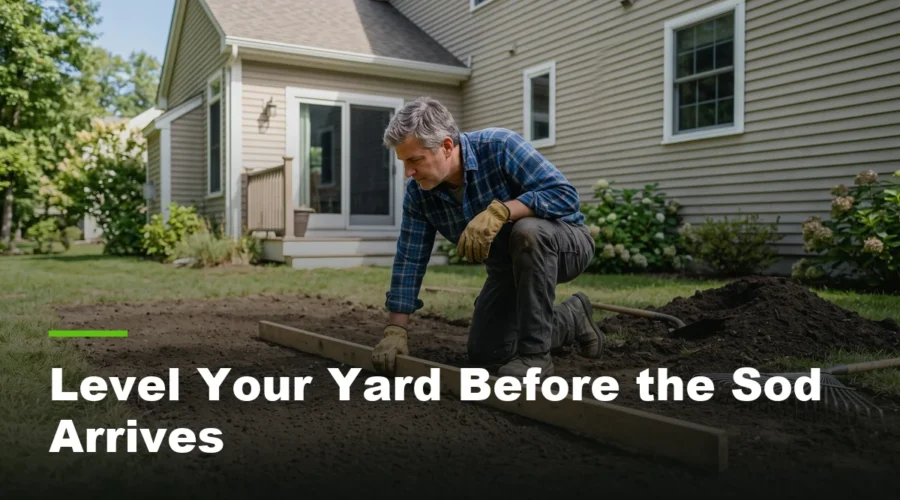
- Small Depressions (Birdbaths): These are usually just a topsoil problem. Shovel loose topsoil into the dip, tamp it down firmly with your boots or a hand tamper, and check it with a straightedge (like a long 2×4 board). If you don’t tamp it before laying sod, the soil will settle, and the birdbath will return.
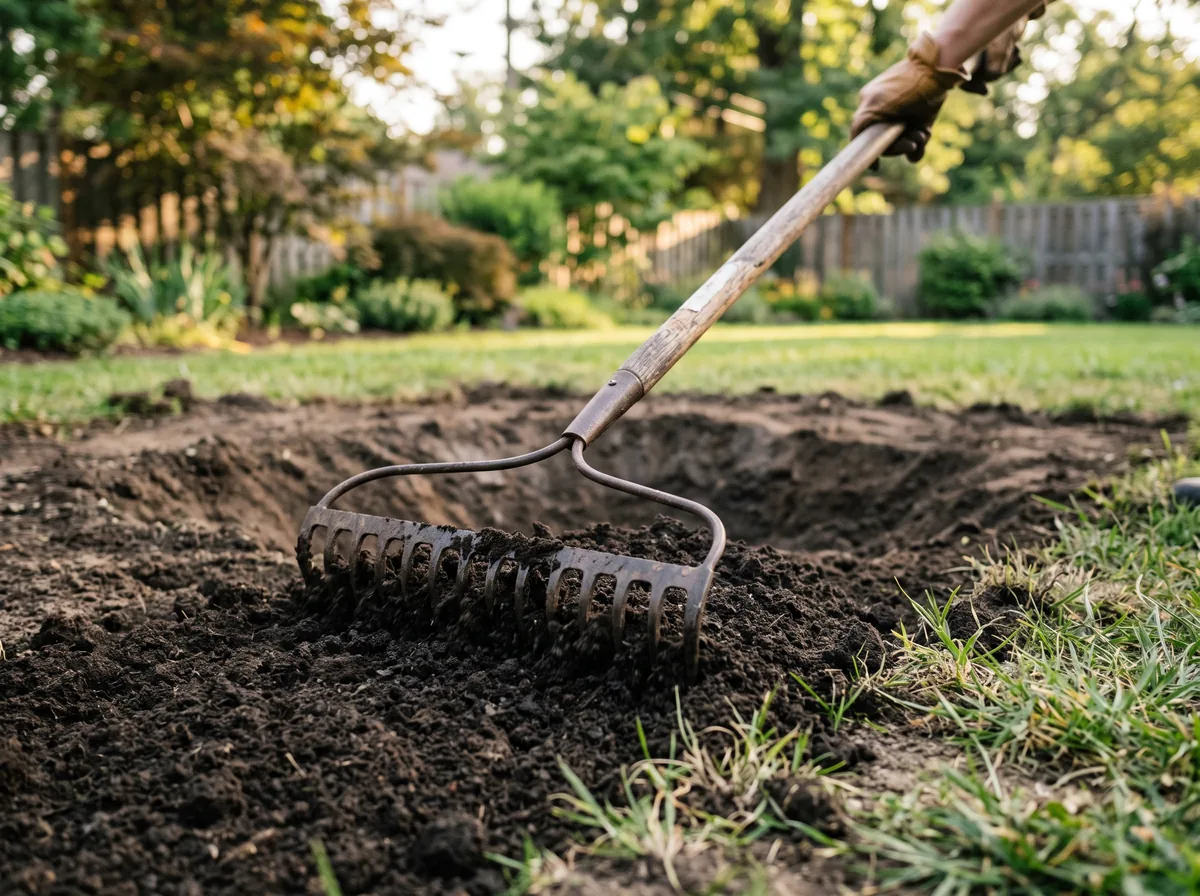
- Wide, Shallow Dishes: If a whole section of the lawn gently bowls inward, apply topsoil starting from the edges of the dish and work your way toward the middle. Use a wide landscaping rake to feather the new soil into the existing grade so you don’t create a hard, visible lip under the new sod.
- Deep Puddles That Never Drain: If a low spot constantly fills with water after it rains, especially near a downspout or driveway, you likely have a drainage problem, not just a leveling problem. Simply filling it with topsoil will usually just delay the puddle by a season. You may need to install a French drain or a catch basin before sodding.
Good to know
This is general guidance on leveling technique, not engineering advice for your specific property. Grading near a foundation, drainage swales and anything affecting a neighbouring property can involve requirements set by your municipality. Confirm current requirements with your local building department and speak with a qualified grading or drainage professional before you make changes close to your home. Sodding Canada is not responsible for outcomes from work carried out without professional guidance where it is warranted.
Step 3: Roll and Compact the Soil
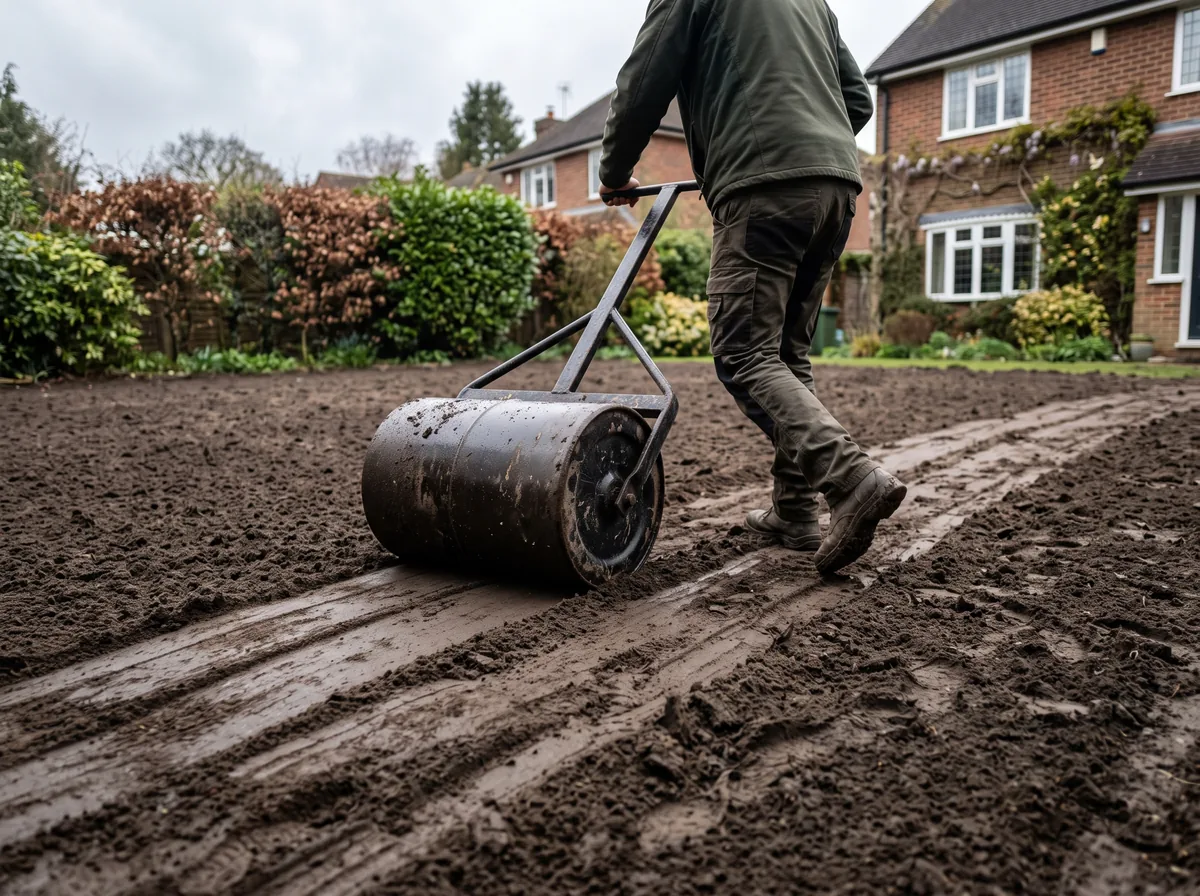
Freshly moved topsoil is full of air pockets. If you skip this pass, the ground will settle unevenly under the turf for weeks after installation, undoing all your leveling work and turning the lawn lumpy by midsummer.
Use a water-filled lawn roller (run it empty first, then add a little water for weight) to firm the soil. This will immediately reveal where the ground is still soft. Walk the area afterward; anywhere your heel sinks in noticeably deeper than the rest needs more soil and more compaction.
Red flag
Skipping compaction to save a weekend is the #1 reason a new lawn develops soft spots and shallow depressions in its first season. It is far easier to firm the soil now than to lift sod later.
Step 4: Screed for a Smooth Finish
The last pass is about the surface texture, not the overall shape.
Drag a long straightedge (like a landscaping screed or a very straight 10-foot lumber board) across the surface in a few different directions. Light showing under the board marks a dip you missed. Shave off the high spots and sweep that excess soil into the low spots.
This leaves a fine, even layer that the sod can sit perfectly flush against, preventing air pockets from drying out the roots.
What About Slopes and Hills?
Leveling a bumpy, flat yard is very different from trying to lay sod on a steep incline. If your yard has a severe drop, gravity and erosion will constantly fight your leveling efforts, and water will wash your loose topsoil away before the sod can root.
If you are dealing with a steep bank, retaining walls, or heavy erosion, sodding requires specific staking and netting techniques. Read our dedicated guide: Can You Lay Sod on a Slope or Hill? to see if your incline is safe to sod.
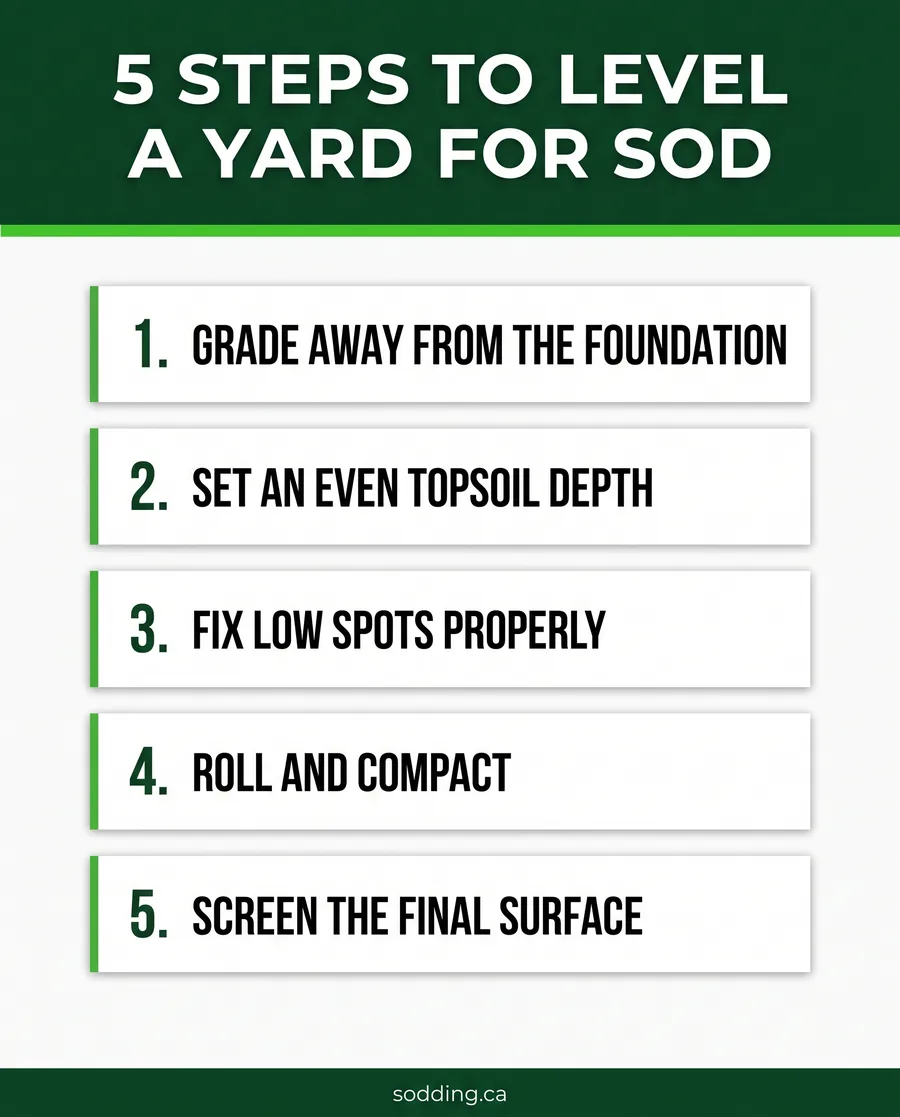
Download the free quick guide
The five-step sequence in one printable sheet, plus the signs a yard needs a full regrade instead of a DIY fix.
Frequently asked questions
How do I know if my yard actually needs leveling before sod?
Walk the area after a rain and note where water sits for more than a few hours, and check for spots where a mower scalps the grass or leaves clippings piled against a low edge. Both are signs of an uneven surface underneath. You can also lay a straightedge or a long level board across sections of the yard; daylight showing underneath marks a dip, and a board that rocks marks a high spot. If the whole yard passes both checks, you may only need light topsoil work rather than a full leveling pass.
Can I skip screening the topsoil if the ground already looks smooth?
You can, but stones, clumps and old root sections often hide just below a smooth-looking surface, and sod laid over them tends to sit unevenly and root unevenly around each obstruction. Screening takes the guesswork out of the final layer. For a small area it may not be worth renting equipment, but running a rake through by hand to pull out anything larger than a golf ball is a reasonable middle ground.
How much topsoil do I actually need to level an uneven yard for sod?
It depends entirely on how uneven the yard is and how much existing topsoil is already there, so there is no single figure that applies to every property. A soil test tells you what condition your existing ground is in, which is the starting point for working out how much needs to be added. For anything beyond a few small low spots, having someone measure the yard and estimate volume before you order material avoids paying for topsoil you either did not need or did not order enough of.
Should I compact the soil before or after adding topsoil?
Generally, both matter. If the subgrade underneath is loose or freshly disturbed, compacting it first gives the topsoil layer a stable base instead of one that keeps settling. Once topsoil is added and roughly leveled, a second light compaction pass, ideally with a water-filled roller, firms that layer too before the final screening. Skipping the first pass is the more common mistake, since it is the one nobody sees once the topsoil goes on top.
Is it too late to fix grading after the sod is already down?
It is harder, not impossible. Small low spots can sometimes be corrected by lifting the affected section of turf, adding and compacting topsoil underneath, and relaying the same sod if it has not been down long enough to root in fully. Larger grading problems, especially ones involving drainage toward the house, usually mean removing more turf than most homeowners expect. It is worth getting the grade right the first time specifically to avoid this.
Next steps
That is the whole method to level an uneven yard for sod: establish a base grade, fix low spots, roll and compact, and screed for the final finish. Do those steps in order and the sod does the rest of the work on its own.
If you would rather have that whole sequence handled for you, the ground prep is built into every job our crews run, from grading to the final screened bed. Book a site visit and quote, and we will tell you honestly whether your yard is a weekend DIY fix or worth handing off.